Full Moving Organization Process: Developer's Project
What if you treated moving like a software project? A developer shares the full SOP from packing to unpacking, including a numbering/labeling system and...
I just moved last month—from the north side of the city to the south side. Twenty boxes of stuff. But this move went surprisingly smooth—from packing to unpacking, the whole thing took just three days, and by the first night I was sleeping normally in the new place and coding normally the next day. The secret: I treated the move as a project and built a complete SOP using developer thinking.
I've moved three times before, and every one was a disaster: couldn't find anything, boxes piled up like a mountain, spent the first week at the new place sleeping on a mattress on the floor. This time I decided to stop winging it and use project management thinking to break the move into executable steps.
Step 1: Project Planning (Two Weeks Before the Move)
Every project starts with a plan. Moving is no different.
Timeline: I drew a Gantt chart—Excel, but it worked. Two weeks before the move, I packed non-everyday items. The week before, I packed everyday items. Moving day, I only moved the essentials. The first day after, I unpacked the bedroom. The second day, the workspace. The third day, the kitchen and living room.
Budget: Moving costs included the moving company, boxes, bubble wrap, tape, and label paper. I made a budget table with a $150 total. I actually spent $130, so I stayed within range.
Checklist: I built a moving checklist in Notion, split into three categories: "Packing List," "Transport List," and "Unpacking List." Each category had specific tasks, and I checked them off as I went. This list was the "core document" for the move—every piece of progress was tracked here.
Declutter: Moving is the best time to declutter. I set a rule: anything I hadn't used in a year got tossed or donated. I ended up throwing out three big bags, and the new place felt much lighter.
Step 2: Packing Strategy (Three Dimensions)
Packing isn't just throwing things in a box. There's a strategy. I used three dimensions of packing:
By room: Items from each room were packed separately, with the room name written on the box. Like "Bedroom-1," "Bedroom-2," "Kitchen-1." That way, at the new place, the boxes go straight to their corresponding rooms—they don't pile up in the living room.
By priority: Within each room, items were split into A, B, and C tiers. Tier A had to be used that day (bedding, toiletries, work laptop). Tier B was needed within three days (cookware, everyday clothes). Tier C could stay packed for a week (off-season clothes, books, decorations). Tier A items get packed last and unpacked first. Tier C items get packed first and unpacked last.
By frequency: Some items are used daily, like my laptop. Those go in a separate "essentials box" that travels with me on moving day, not with the truck. My essentials box had my laptop, charger, change of clothes, toiletry bag, sheets and comforter, and slippers. Even if the other boxes hadn't arrived at the new place, I could still live normally.
Step 3: Numbering and Labeling System (The Core System)
This was the most "developer" part of my moving plan—numbering every box and building an index.
Numbering rule: Room abbreviation + sequence number. For example, "BR-01" was the first bedroom box, "KT-03" was the third kitchen box. Twenty boxes total, numbered BR-01 through KT-05—clear at a glance.
Label content: Every box got two labels—one on top, one on the side. The label had: the number, the room, the priority (A/B/C), and the top five items. For example, "BR-01 | Bedroom | A | Sheets, comforter, pillow, pajamas, alarm clock."
Digital index: I built a spreadsheet on my phone that recorded every box's number, contents, priority, and placement. After the move, finding something didn't mean digging through boxes—I just looked up the table. Looking for the hair dryer? The table says it's in "BR-03," so I head straight to bedroom box 3. No more searching through every box.
Color labels: Tier A boxes got red labels, B got yellow, C got green. At the new place, I unpacked the red ones first, then yellow and green at my own pace. Visually intuitive—no need to read each label.
The inspiration for this numbering system came from database indexes. A query without an index is a full table scan—terrible performance. With an index, you go straight to the right row, and efficiency doubles. Same idea applies to finding things after a move.
Step 4: Unpacking Strategy (Essentials First, Everything Else After)
Unpacking needs even more strategy than packing. My unpacking order:
Night one: Only unpack Tier A boxes. Goal: "able to sleep, able to wash up." I unpacked BR-01 (bedding) and BA-01 (toiletries), made the bed, set out the toothbrush, and I was set for the night.
Day two: Unpack Tier A and B boxes in the workspace. Goal: "able to work." Set up the computer, monitor, and desk, connect the network, and I was back to coding. For developers, the workspace takes priority over the kitchen and living room.
Day three: Unpack Tier B boxes in the kitchen and living room. Goal: "able to cook, able to relax." Pots, dishes, sofa cushions, TV remote—once these were sorted, life was basically back to normal.
Within a week: Slowly unpack Tier C boxes—books, decorations, off-season clothes. These aren't urgent. Take your time, and some can stay packed until you actually need them.
While unpacking, I strictly followed the "unpack one box, put everything away, collapse one box" rule. As soon as I pulled items out of a box, they went straight to their designated spots, and the empty box was folded up immediately. No "all boxes unpacked, stuff piled everywhere" chaos.
Step 5: New Home Storage Layout Plan (Designed Before the Move)
A lot of people think about storage layout after they move, but by then it's too late. A week before the move, I went to the new place, took measurements, drew a simple floor plan, and planned the storage layout for every area.
Bedroom: Wardrobe zones (hanging, folding, drawers), what goes on the nightstand, what goes in the under-bed storage box. On moving day, boxes went straight to the bedroom, were unpacked according to plan, and items went straight to their pre-planned spots.
Workspace: Where the desk goes, monitor orientation, power strip position, where the pegboard gets mounted on the wall. All of this was locked in before the move, so I could set up the workspace on day two.
Kitchen: Cabinet zones (spices, cookware, dishes), what goes on the counter, how much space to leave next to the fridge. I figured all this out before the move, so unpacking the kitchen was super efficient.
Living room: Sofa position, coffee table position, storage cabinet position. These big furniture pieces had placement plans locked in before the move, so the movers put them in the right spots the first time—no second round of hauling.
This pre-planning step made the new place's layout much more reasonable than the old one. The old place was "move in and adjust slowly." The new place was designed once and done right.
Step 6: Recommended Moving and Storage Tools
Boxes: I bought three sizes. Large (60x40x50cm) for clothes and bedding. Medium (50x30x40cm) for books and cookware. Small (40x30x30cm) for clutter and electronics. Books must go in small boxes—otherwise they're too heavy to carry.
Bubble wrap: For wrapping fragile items like monitors, glasses, and picture frames. I bought a 50-meter roll—exactly enough. Tape it down so it doesn't come loose.
Label paper: Colored label paper for the boxes. I bought red, yellow, and green to match A, B, C priorities. Plus a roll of white label paper for the item lists.
Plastic wrap: For wrapping drawer cabinets and storage boxes. You don't even need to take the items out—just wrap the whole thing. After the move, just unwrap and the items are still in place—saves a ton of organizing time.
Permanent markers: Thick-tip markers for writing box numbers. Bring several—you'll lose them during the move.
Wrapping Up
Moving is a required course for renters, but it doesn't have to feel like a battle every time. Use project management thinking—break the move into five phases: planning, packing, transporting, unpacking, and layout. Each phase has clear inputs, outputs, and acceptance criteria, and the whole process becomes much more controllable.
This move, I went from packing to fully organized in just three days. On the third night, I was sitting at the new workspace coding, with my cat Bug napping next to me. Everything in its place. The ability to "get back to normal life fast after a move" is especially important for developers—after all, code doesn't wait.
If you're about to move, start planning two weeks ahead. Build a checklist, draw a timeline, design a numbering system. The better you prepare, the easier the execution. We all know it in code: good architecture saves 80% of maintenance costs down the line. Moving works the same way.
Related Articles
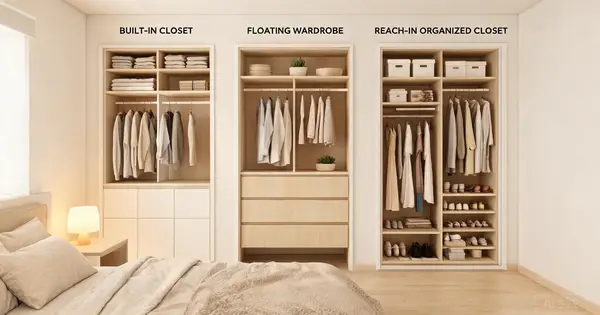
9 Closet Designs Compared: Best for Small Spaces 2026
From floor-to-ceiling built-ins to floating wardrobes — compare 9 small closet designs for 2026. Find the perfect space-saving solution for your apartment.
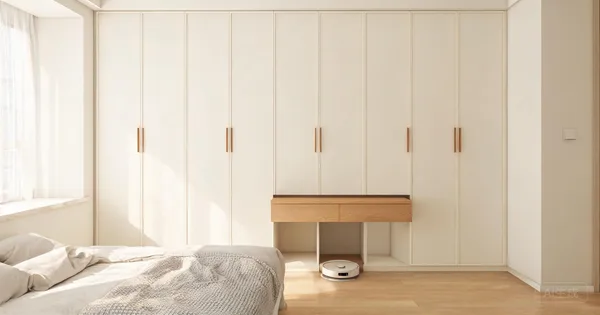
Low-Maintenance Storage: 5 Designs for a Cleaner Small Apartment
Storage should save space AND save your time. Explore 5 low-maintenance storage designs that keep your small apartment cleaner with less daily effort.

Multi-Purpose Balcony: Laundry, Cleaning, Pets & Plants in One
Your balcony can be more than a drying rack. Design one zone that holds a washer-dryer, cleaning tools, pet supplies, and plants without them fighting.

The 80/20 Storage Rule: How to Apply the 'Hide 80%, Show 20%' Philosophy in Your Small Apartment
The 80/20 storage rule is 2026's hottest home organization philosophy. Learn how to hide 80% of your belongings and display 20% to make your small apartment feel spacious, tidy, and effortlessly stylish.

Small Dining Room Storage: 10 Solutions for Your Apartment
Your small dining table is buried under mail, groceries, and clutter. Discover 10 smart storage solutions for small dining rooms — from wall shelves to multi-functional furniture.
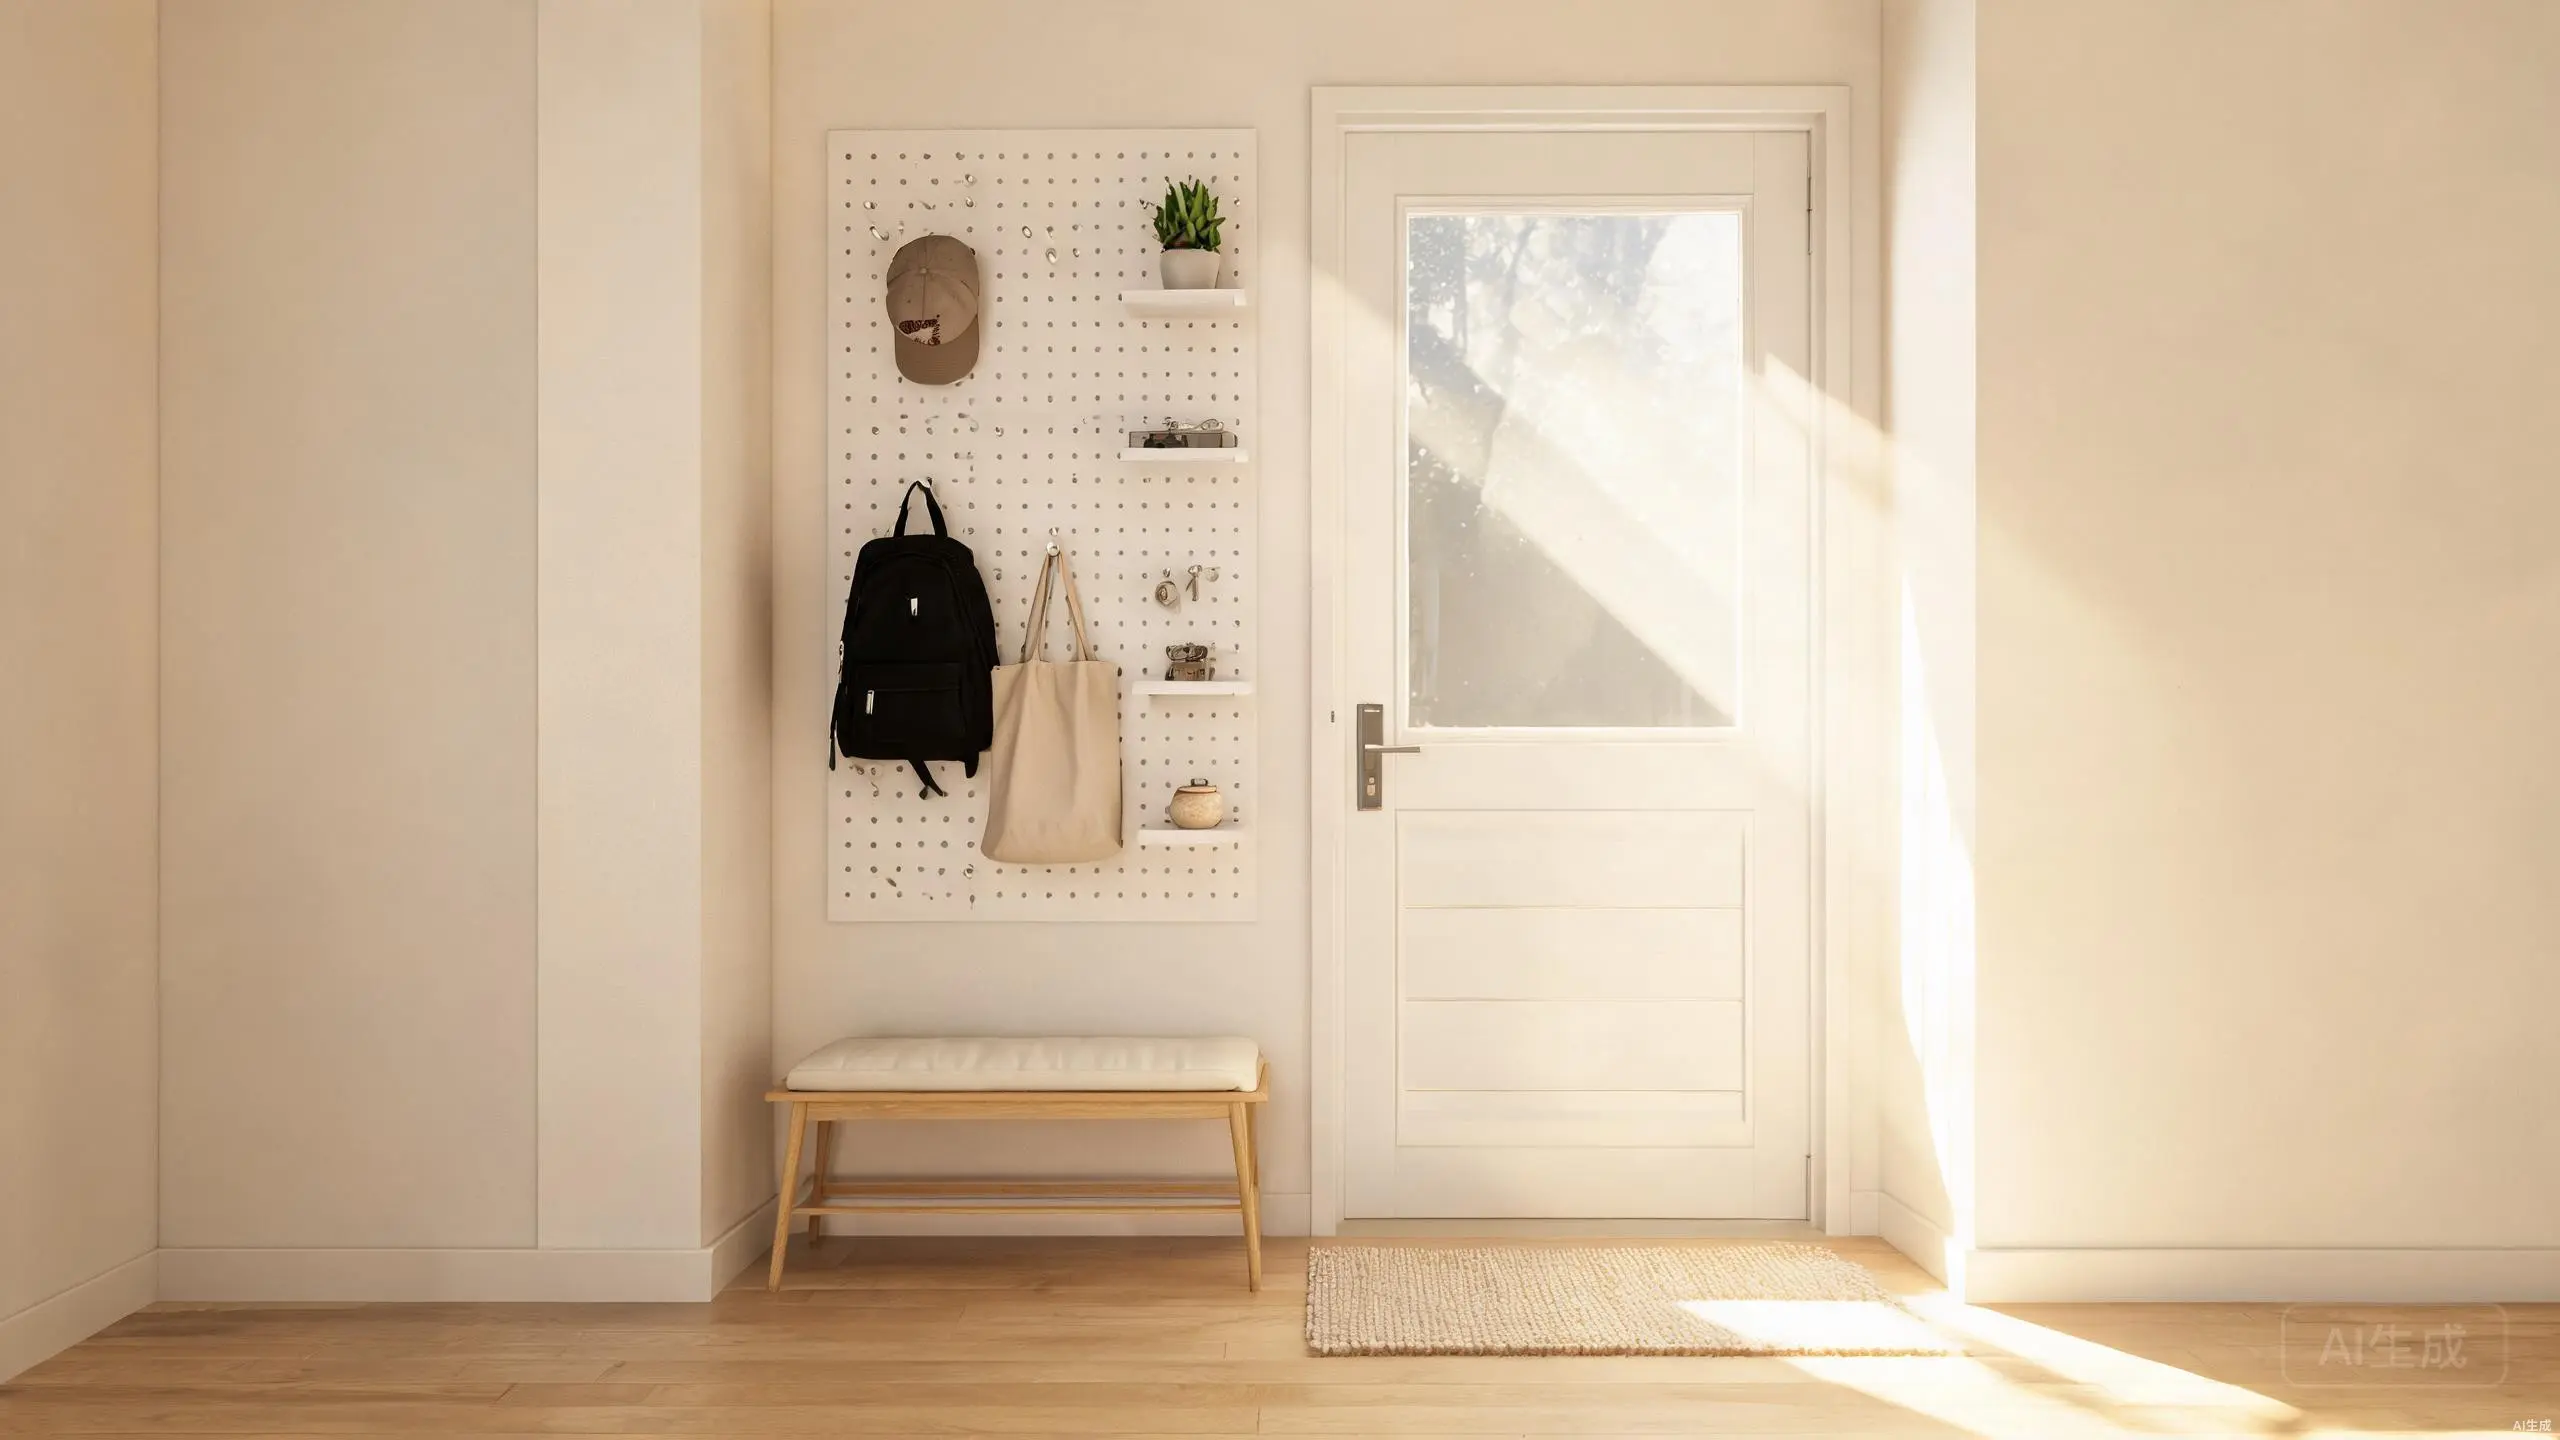
Entryway Pegboard Storage: No-Drill Vertical Solution for Rentals
Transform your entryway with pegboard storage that requires zero drilling. Perfect for rentals, this vertical solution maximizes space for coats, bags, and daily essentials.