Balcony Laundry Zone: Fit Washer and Dryer in 2 Sq M
Turn your tiny balcony into a functional laundry zone. Learn how to fit a washer, dryer, and cleaning supplies in just 2 sq m without the clutter.
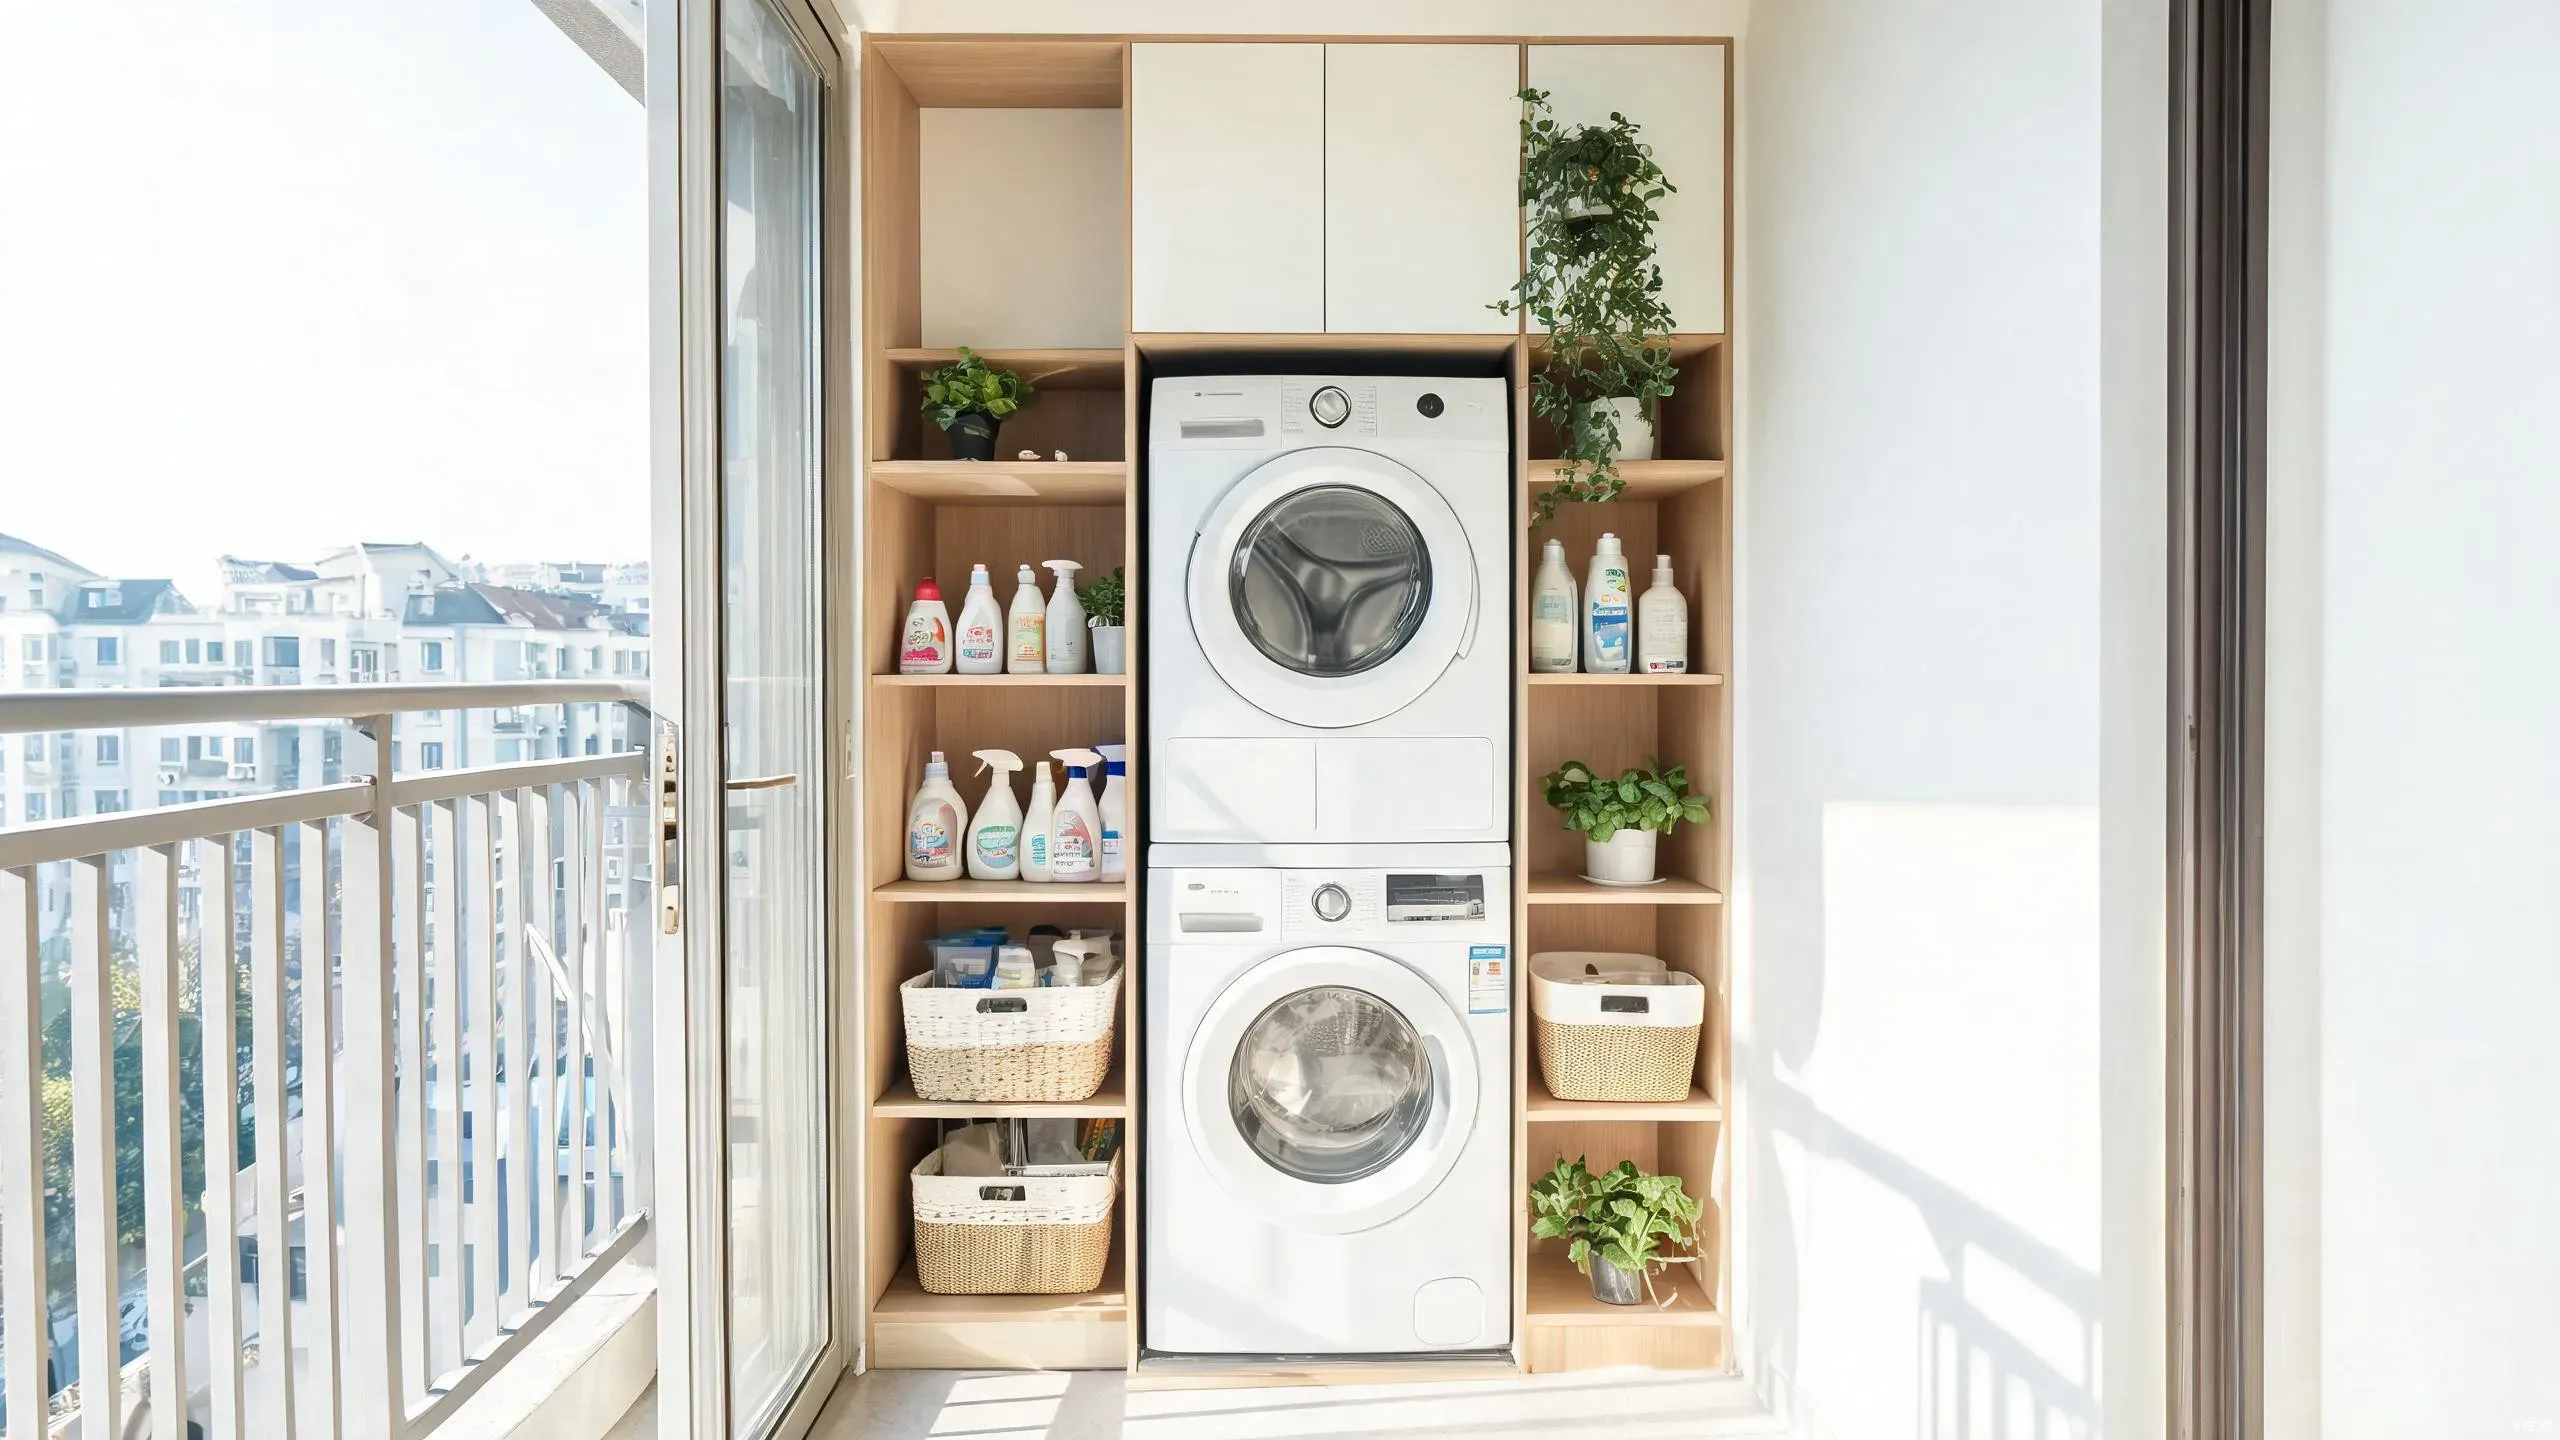
When I moved into a 30sqm studio, my balcony was a dumping ground. Mops, detergent bottles, and a broken drying rack piled in a corner. Sound familiar? Most small apartment balconies end up as clutter magnets instead of useful space. A well-planned balcony laundry zone changes that completely.
In my eight years as an interior designer specializing in small spaces, I've transformed over forty balconies into functional utility zones. The secret isn't more space—it's smarter layout. Even in just 2 sq m, you can fit a washer, dryer, cleaning supplies, and still have room to breathe.
The 2026 trend is clear: homeowners are embracing the dual-balcony approach. North balcony becomes the utility zone with washer, dryer, and cleaning integrated. South balcony stays for relaxation. If you only have one balcony, the laundry zone still works—you just need tighter planning.
Layout Plans for Different Balcony Sizes
Not all balconies are equal. Before buying anything, measure your space and pick the right layout. Here's a comparison of three common balcony sizes and what fits in each:
| Balcony Size | Dimensions | What Fits | Layout Type |
|---|---|---|---|
| Compact (1.5-2 sq m) | 1.0m × 1.5-2.0m | Washer only + wall drying rack + over-door hooks | L-shaped vertical |
| Standard (2-3 sq m) | 1.2m × 1.7-2.5m | Washer + dryer combo + upper cabinets + rolling sorter | Single-wall linear |
| Wide (3-4 sq m) | 1.5m × 2.0-2.7m | Washer + separate dryer + full cabinet system + robot vacuum dock | U-shaped wrap |
Key principle: Always place the washer against the shorter wall. The longer wall is for vertical storage—wall-mounted drying rack, upper cabinets, and hook rails. This keeps the center clear for movement.
In my 30sqm studio, I used the compact layout. The washer sat on the 1.0m short wall, a fold-down drying rack on the long wall, and over-door hooks held mops and brooms. Every centimeter worked.
Must-Have Components Checklist
Before you start, gather these essentials. I've organized them by priority—get the basics first, add extras later.
Essential (non-negotiable):
- Compact washer (40-45cm width) or washer-dryer combo
- Fold-down wall-mounted drying rack
- Waterproof floor mat under washer
- Drainage tray or floor drain adapter
- Power extension (outdoor-rated) if no balcony outlet
Recommended (major upgrade):
- Upper wall cabinet for detergent and supplies
- Rolling laundry sorter with wheels
- Over-door hooks for brooms and mops
- Cord cover raceway to hide cables
Nice-to-have (if space allows):
- Robot vacuum charging dock
- Waterproof storage cabinet for bulk items
- Wall-mounted ironing board
- Tension rod for hanging delicates
Vertical Storage: The Game Changer
The single biggest mistake I see? People think horizontally. In a balcony laundry zone, vertical space is your best friend. The standard setup in 2026 is a wall cabinet system: upper cabinets above the washer, lower cabinets or open shelving beside it.
Upper cabinets hold detergent, fabric softener, and stain removers—items you need within arm's reach but want hidden. Install them 30-40cm above the washer top to leave room for the lid to open. A 60cm-wide cabinet fits three rows of standard detergent bottles.
Below the dryer or beside the washer, open shelves keep frequently used items visible: clothespins, mesh bags, and a small trash bin for lint. This "visible storage" saves time when you're rushing through laundry on a weekday morning.
Choosing the Right Washer-Dryer Setup
Your machine choice determines the entire layout. For balconies under 2 sq m, a compact washer-dryer combo is usually the only option. These units wash and dry in one drum, eliminating the need for a separate dryer.
Look for these specs when shopping:
- Width: 40-45cm for tight spaces, up to 60cm if you have room
- Capacity: 2.0-2.4 cu ft handles one person's weekly laundry
- Ventless: Balconies rarely have external venting access
- Low vibration: Concrete balconies amplify spin-cycle noise
If your balcony is 2-3 sq m and you prefer separate machines, stack the dryer on top of the washer using a stacking kit. This doubles your capacity while using the same footprint. Just verify your balcony floor can support the combined weight—typically 150-180kg when both machines are full of water.
Floor and Wall: Prevent Water Damage
Balconies and water are a tricky combination. From my interior design experience, water damage is the number one reason landlords reject balcony laundry setups. Here's how to protect your space:
Floor: Use anti-fouling, easy-clean flooring. Vinyl plank or tile with sealed grout lines works best. Avoid bare concrete—it absorbs water, stains easily, and transfers vibration noise. Place a waterproof mat ($15-$25) under the washer to catch splashes and reduce vibration.
Wall: Install a splash guard behind the washer—a simple acrylic or stainless steel panel mounted on the wall. It costs $20-$40 and prevents detergent splashes from staining your wall paint. For upper cabinets, make sure they're rated for humid environments. Standard kitchen cabinets can warp in balcony humidity.
Drainage: Most balconies slope outward for rain drainage. Place a drainage tray under the washer that channels overflow toward the balcony drain. Never let washer water pool—it seeps into concrete and causes structural issues over time.
Smart Organizing Tools That Save Space
Beyond the basics, a few make the balcony laundry zone dramatically easier to use. I've tested dozens over the years—these are the ones that actually earn their spot:
A wall-mounted drying rack is non-negotiable. It folds flat against the wall when not in use, taking just 5cm of depth. When unfolded, it holds 10-15kg of wet clothes. Mount it above the washer at about 1.5m height so air circulates freely.
A rolling laundry sorter saves you from carrying heavy baskets. Park it beside the washer, sort lights and darks into separate compartments, then roll the whole unit to the washer when ready. It takes up about 40cm × 50cm of floor space—slim enough for most balconies.
Over-door hooks turn wasted door space into mop and broom storage. One hook rail holds four to six long-handled . If your balcony has a cabinet door, mount the hooks there. No cabinet? Use a tension-mount hook rail on the wall.
Planning Your Work Flow
A balcony laundry zone isn't just about fitting stuff—it's about making the workflow smooth. The 2026 ideal is the integrated utility zone: washer + dryer + cleaning + robot vacuum dock, all in one area, ideally adjacent to the kitchen.
Think about your movement path: dirty clothes go into the sorter, transfer to the washer, move to the dryer or drying rack, then get folded and put away. Each step should flow naturally without backtracking. Place the sorter closest to the door (where you enter with dirty laundry), washer in the middle, and drying area farthest.
If your balcony connects to the kitchen, you have the perfect setup. Kitchen sink supplies water for hand-washing delicates. Kitchen counter provides a folding station. The balcony handles the machines and storage. This adjacency eliminates the chaotic back-and-forth that makes laundry day feel like a marathon.
Common Mistakes to Skip
I've made or witnessed every one of these errors. Learn from my mistakes:
- Buying a 60cm washer for a 1.0m wall — measure first, always leave 5cm clearance on each side
- Ignoring power requirements — most balconies lack outlets; plan for an outdoor-rated extension cord before install day
- Skipping floor protection — concrete scratches and water stains are permanent without a mat
- Forgetting ventilation — washer-dryer combos need air circulation; don't box them in on all four sides
- Overloading the space — a cluttered balcony laundry zone defeats the purpose; leave 40cm of clear floor for standing room
Key Takeaways
A 2 sq m balcony can hold a complete laundry setup if you plan vertically. Start with the right washer-dryer combo, add wall-mounted storage above, and use the floor only for the essentials. The layout determines everything—measure before you buy anything.
Protect your floors and walls from water damage, and plan a workflow that moves from dirty to clean without backtracking. With the right components and a tight layout, your balcony goes from clutter magnet to the most functional square meter in your apartment.
Want more small apartment solutions? Check out my guide on small kitchen storage essentials or learn how to organize your entryway for tiny apartments.
Related Articles
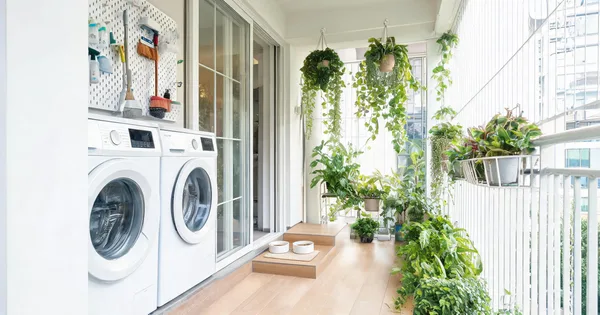
Multi-Purpose Balcony: Laundry, Cleaning, Pets & Plants in One
Your balcony can be more than a drying rack. Design one zone that holds a washer-dryer, cleaning tools, pet supplies, and plants without them fighting.
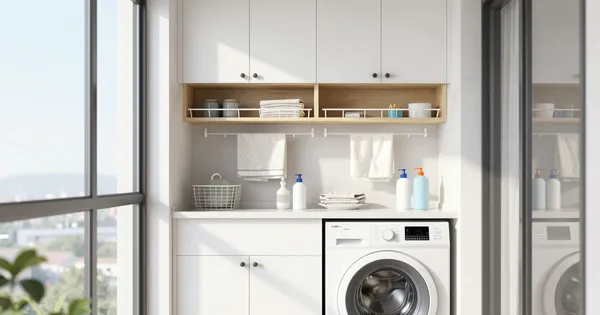
Balcony Laundry Room Organization: 3-in-1 Laundry Drying Storage Solution
Transform your balcony into a functional laundry room. Learn how to combine washing, drying, and storage in one compact space for small apartments.
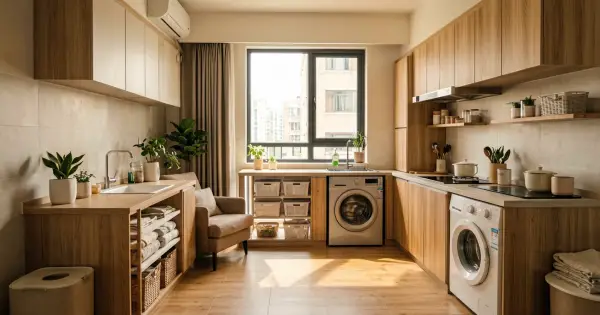
Balcony to Laundry: 2sqm Utility Zone Makeover
Transform your tiny balcony into a functional laundry zone. This 2sqm makeover guide covers layout, storage solutions, and rental-friendly tips for small apartments.
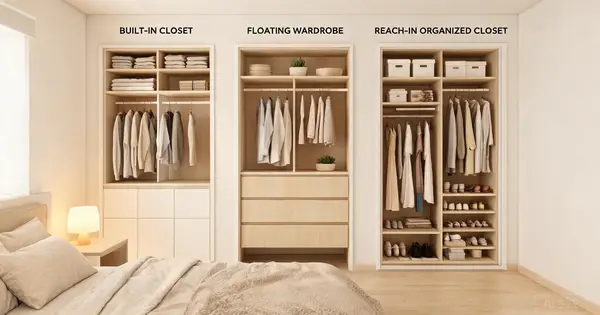
9 Closet Designs Compared: Best for Small Spaces 2026
From floor-to-ceiling built-ins to floating wardrobes — compare 9 small closet designs for 2026. Find the perfect space-saving solution for your apartment.
Low-Maintenance Storage: 5 Designs for a Cleaner Small Apartment
Storage should save space AND save your time. Explore 5 low-maintenance storage designs that keep your small apartment cleaner with less daily effort.
The 80/20 Storage Rule: How to Apply the 'Hide 80%, Show 20%' Philosophy in Your Small Apartment
The 80/20 storage rule is 2026's hottest home organization philosophy. Learn how to hide 80% of your belongings and display 20% to make your small apartment feel spacious, tidy, and effortlessly stylish.