DIY Storage Projects: Low-Cost Organization Ideas
DIY storage tutorials using cardboard, PVC pipes, and wood scraps. Step-by-step guides to build a custom organization system for just a few dollars.
As a programmer who writes code and loves hands-on projects, I've always believed in the magic of DIY: solving problems on the cheap while building solutions that fit your needs perfectly. Storage tools on the market are everywhere, but their sizes, colors, and features might not be exactly right for you. And that's where DIY's superpower lies — total customization.
Over the past three years, I've made over a dozen storage tools from shipping boxes, leftover renovation wood, scrap PVC pipes, and empty bottles and jars. Total cost? Under $30. But these DIY projects fixed 90% of my storage headaches. Today, I'm sharing complete tutorials for all these projects.
Core Principles of Storage DIY
Before we dive in, I want to share my "DIY design principles" — which have a lot in common with software architecture thinking.
Reuse what you already have. In code we talk about reusability, and DIY's no different. Shipping boxes, shoe boxes, glass bottles, tin cans — all that seemingly useless stuff is potential storage material. My desk pen holder's a repurposed nut jar.
Low cost first. DIY isn't about being cheap — it's about getting a custom experience at a reasonable price. If a project needs too many specialty materials, I'd rather just buy something ready-made. My rule: each project should cost under $5 in materials.
Design for your exact needs. This is DIY's core value. Your drawer width, your item sizes, your taste — only you know these perfectly. I once made a side shelf for my bookshelf specifically for my three mechanical keyboards — a size you just can't find in stores.
Iterate and improve. Just like code, DIY projects evolve. The first version might be rough, but as you use it you'll spot ways to make it better, gradually iterating toward something you're happy with.
Cardboard Storage Box Tutorial
This is the best beginner project — materials are basically free.
Materials needed:
- Shipping boxes (medium hardness — skip the flimsy ones)
- Hot glue gun ($2-$5, essential DIY tool)
- Utility knife ($1-$2, for cutting cardboard)
- Ruler or tape measure ($1-$3, for accurate measurements)
- Wrapping paper or fabric (optional, for decoration)
- Label stickers ($1-$2, for marking categories)
Step-by-step instructions:
Measure and design. First measure the inside of your drawer or shelf, then figure out your storage box's length, width, and height. My tip: make the length about an inch less than the drawer's inner width so it pulls out easily; height depends on what you're storing, usually 4-6 inches.
Cut the cardboard. Using a utility knife and ruler, cut the cardboard into 6 pieces: one bottom panel and four side panels. Cut in one steady motion instead of sawing back and forth — the edges'll be way cleaner.
Assemble with hot glue. Use the hot glue gun to attach the four side panels to the bottom panel — glue the long sides first, then the short ones. Hot glue dries in about 10 seconds but takes a few minutes to fully set, so don't mess with it during that time.
Reinforce for sturdiness. If the cardboard's on the soft side, add triangular support pieces at the four corners, or line the inside with a second layer of cardboard for extra rigidity.
Decorate and spruce it up. Wrap the outside with decorative paper or fabric — instantly turns "shipping box" into "Scandinavian-style storage box." I use IKEA wrapping paper — $3 for a big roll, enough for over a dozen boxes.
Add labels. Use label stickers to write category names and stick them on the front of each box.
My real-world results: I made a set of drawer divider boxes for underwear, socks, and t-shirts. Total cost under $2 (mostly glue sticks and wrapping paper), but the result is just as good as store-bought ones that go for $7-$12.
Wood DIY Shelf Tutorial
This is an intermediate project — takes a little hands-on skill, but you can build furniture-quality storage tools.
Materials needed:
- Wood planks (check hardware stores for scrap cutoffs — I bought a 24x16 inch plywood piece for just $2)
- L-shaped metal brackets (4 pieces, $3-$6 total)
- Screws and wall anchors (if wall-mounting)
- Electric drill or screwdriver
- Sandpaper (for smoothing surfaces)
- Wood finish or mineral oil (optional, for looks)
Step-by-step instructions:
Design the structure. Figure out the shelf's dimensions and how many tiers you want. My first project was a small 2-tier shelf for my desk — 16x8x12 inches.
Cut the wood. If your lumber's not the right size, ask the hardware store to cut it — usually free or just a couple bucks. Without power tools, that's the practical way to go.
Sand the surfaces. Use sandpaper to smooth the planks' surfaces and edges — no splinters allowed. I go from 120-grit up to 240-grit; the feel is perfectly smooth.
Assemble with brackets. Use L-shaped brackets to connect shelves to side supports. I recommend screws over hot glue — way sturdier. Drill pilot holes first to keep the wood from splitting.
Apply finish. If you're using bare wood, think about putting on a clear wood finish or mineral oil — protects against moisture and brings out the wood grain. I used clear mineral oil, kept the natural look.
Install and use. For small desk shelves, just set them on your desk. For bigger wall-mounted ones, use wall anchors for safety.
My creation: I built a monitor riser from leftover renovation wood — monitor on top, keyboard underneath, plus a small drawer for USB drives and headphones. Cost under $5, still going strong after two years.
PVC Pipe Storage Rack Tutorial
PVC pipes are a DIY miracle — cheap, lightweight, and easy to work with.
Materials needed:
- PVC pipe (2-inch or 3-inch diameter, sold by the foot — just a few bucks a meter)
- PVC T-joints (for connecting pipes)
- PVC cement (to secure joints)
- Hacksaw or PVC pipe cutter
- Sandpaper (to smooth cut edges)
Step-by-step instructions:
Design your layout. Figure out what kind of rack you want. I built a vertical pen/tool holder by cutting PVC pipes into different lengths and standing them upright.
Cut the pipes. Use a hacksaw or PVC cutter to cut pipes to your desired lengths. The cut edges'll have burrs — smooth them down with sandpaper.
Assemble the structure. For frame-style racks (like shoe racks), use T-joints to connect pipes. For cylinder-style storage, just stand the pipes upright and attach them to a base board.
Secure and stabilize. PVC pipe is super light — for bigger racks, add weight at the bottom or fasten to the wall. My pen holder just sits on the desk, so no extra securing needed.
Finishing touches. PVC pipes come white — you can spray paint 'em different colors. I've used matte black; the vibe upgrade is huge. Always use spray paint in a well-ventilated area and wear a mask.
My creation: I built a vertical tool rack from PVC pipes — different lengths holding screwdrivers, scissors, rulers, and glue sticks. My desk was instantly tidy. Total material cost: about $2.
Upcycled Storage Tools: Creative Repurposing
This is where creativity shines — and where the fun really starts.
Glass bottle transformation:
- Sauce bottles, jam jars — wash 'em well, peel off the labels, use 'em for buttons, paper clips, coins
- I've got a row of glass bottles on my bookshelf, each holding a different color of data cable — storage and decoration in one
- If the lids are metal, spray painting 'em a uniform color makes the whole display look put-together
Tin can transformation:
- Empty cans — smooth the sharp edges (safety first!), then wrap with twine or fabric
- I made a tin can pen holder wrapped in jute twine — looks genuinely handmade on my desk
- Multiple cans can be mounted on a wooden board to make a wall-mounted organizer
Shoe box transformation:
- Shoe boxes are sturdier than shipping boxes — perfect for drawer-style storage
- I cut a U-shaped notch into one side of a shoe box for easy pulling, wrapped it in decorative paper, and slid it onto my bookshelf like a drawer
- Three shoe boxes side-by-side make a simple file cabinet
Old T-shirt transformation:
- Tees you don't wear anymore can be cut into strips and woven into storage baskets
- Takes basic weaving skills — tons of tutorials online
- I made a small basket by my front door for keys and masks
Safety and Aesthetics in DIY Storage
DIY is fun, but safety and how it looks matter too.
Safety considerations:
- When cutting cardboard or wood, always cut away from your body — never toward yourself
- Hot glue guns get really hot — I've burned my fingers twice; now I always remember to be careful
- Wear a mask when sanding wood or PVC — breathing in dust is bad for you
- For wall-mounted projects, check your wall's structure — drywall alone won't hold heavy loads
Aesthetic tips:
- Stick to a color scheme — pick a palette (like black-white-gray plus natural wood tones)
- Hide imperfections — rough edges can be covered with edge trim or fabric
- Label everything — even the simplest storage box looks professional with neat labels
- Keep decoration minimal — simple and functional is the programmer aesthetic
Tool investment recommendations:
- Must-have: Hot glue gun, utility knife, ruler, scissors — these four cost under $8 and handle 80% of DIY projects
- Advanced: Electric drill, saw, sandpaper — worth investing in if you do woodworking regularly
- Consumables: Glue sticks, screws, wrapping paper — keep extras around; these get used up fast
Writing this, I'm remembering my first DIY project — a wonky cardboard pen holder. But that rough feeling of having made something myself? That satisfaction is something store-bought stuff will never give you.
As programmers, we spend all day in the virtual world — writing code, fixing bugs, shipping releases. DIY brings us back to the physical world, building real things with real materials. In a way, it balances out our daily work.
More importantly, DIY storage tools taught me: solving problems doesn't always mean spending money. Sometimes all you need is a little creativity and willingness to try. That spirit is basically the same as how we programmers pursue elegance and efficiency in our code.
If you want to try DIY too, I'd start simple — just a cardboard storage box. Grab a hot glue gun, utility knife, and ruler, spend a weekend afternoon making a few storage tools that are truly yours. Trust me — when you set that first creation on your desk and actually use it, the satisfaction is totally worth it.
Looking forward to seeing your DIY projects in the comments. We programmers can write elegant code — and we can make practical, handmade stuff too.
Related Articles
Rental Kitchen Makeover: Useless Ultra-Efficient (Under
As a programmer, I transformed my 43 sq ft rental kitchen into an efficient cooking space in two weeks. Here's my complete guide for counter expansion...
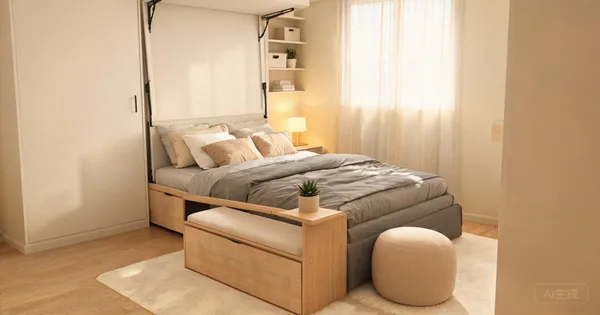
Multi-Functional Furniture: 10 Space-Saving Picks for 2026
Every piece should earn its square footage. Review 10 multi-functional furniture picks—from storage ottomans to murphy beds—that save space and add storage.
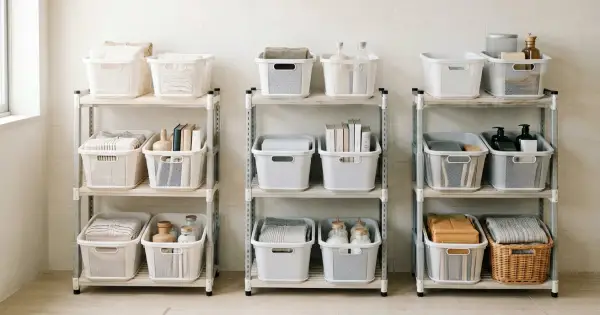
5 Best Foldable Storage Shelves 2026: Tested for Small Apartments
Foldable storage shelves are 2026's hottest small apartment essential. I tested 5 top models for durability, capacity, fold mechanism, and real-world use. Find the perfect one for your space.
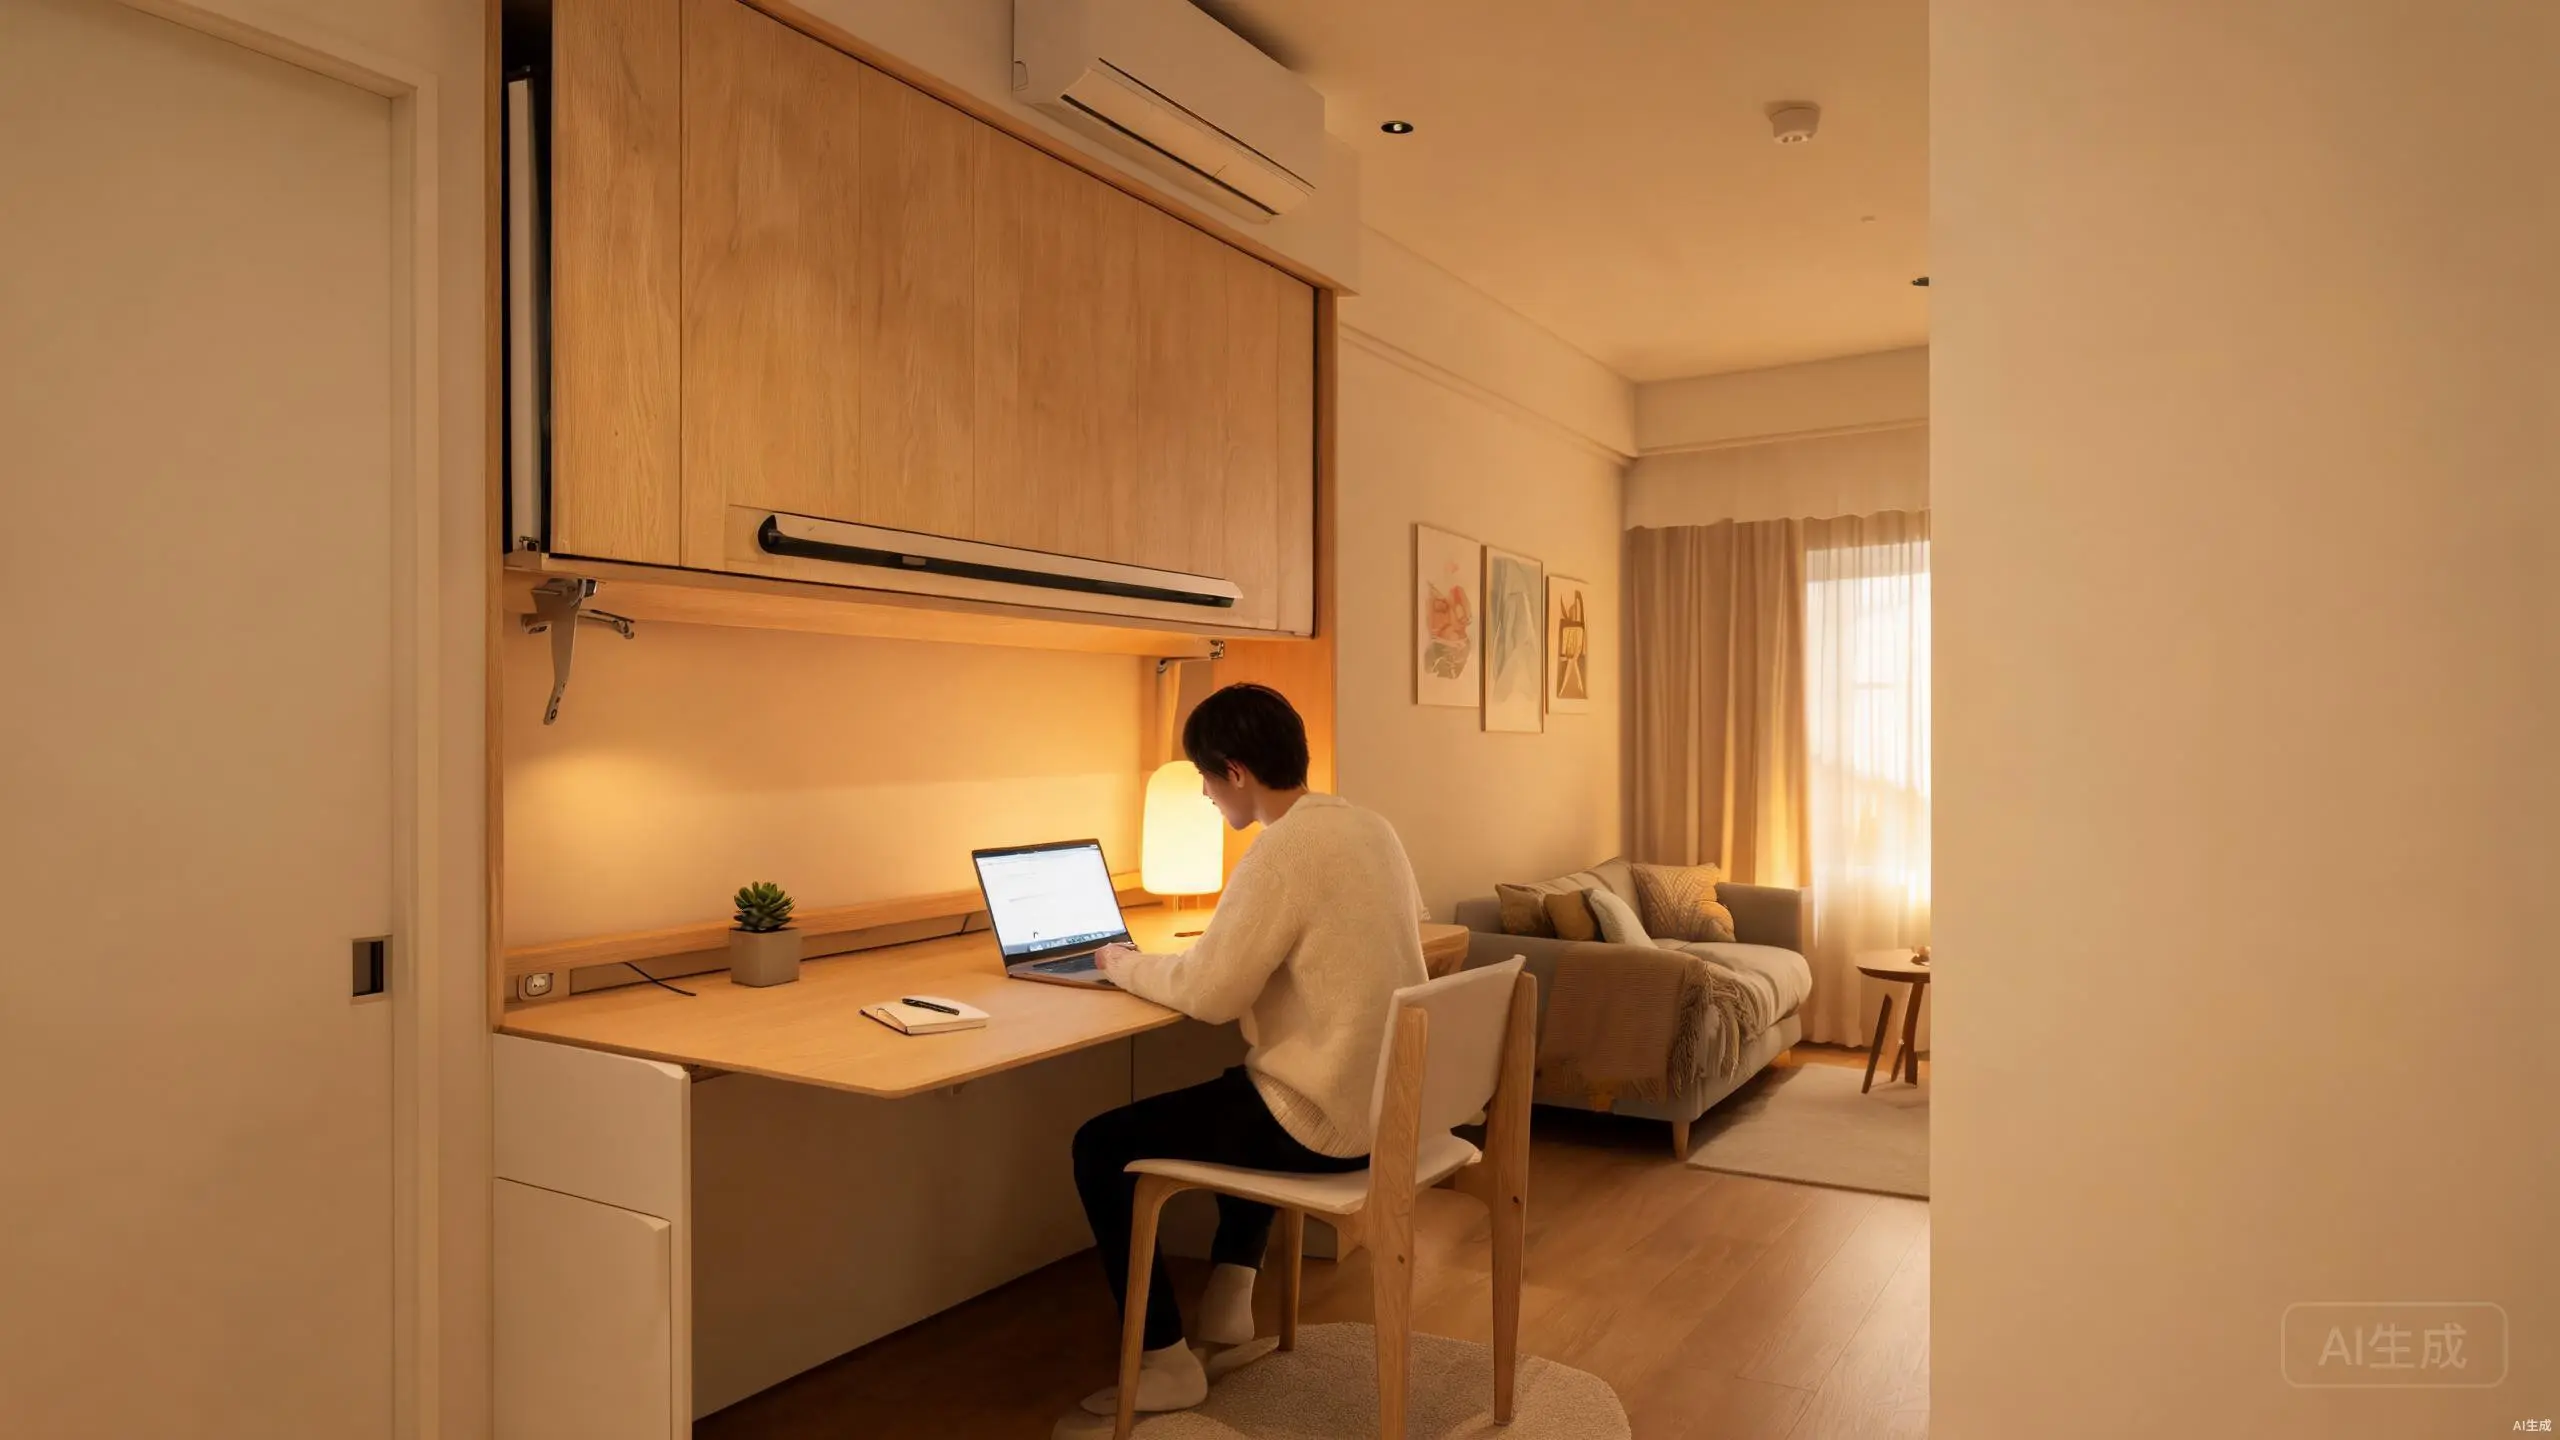
Murphy Bed with Desk: My 3-Month Test in a Small Apartment
I tested a murphy bed with desk in my 35 sq m apartment for 3 months. Here's what works, what doesn't, and which models are worth the money.
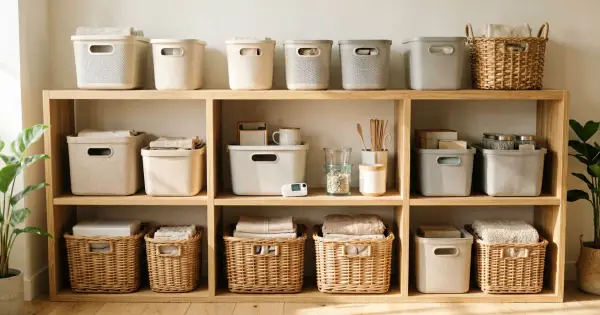
Smart Storage Systems 2026 Tested: Worth the Money or Gimmick?
I tested 5 smart storage systems for small apartments in 2026. From motorized shelves to app-controlled closets, here's what actually works and what's a waste of money.
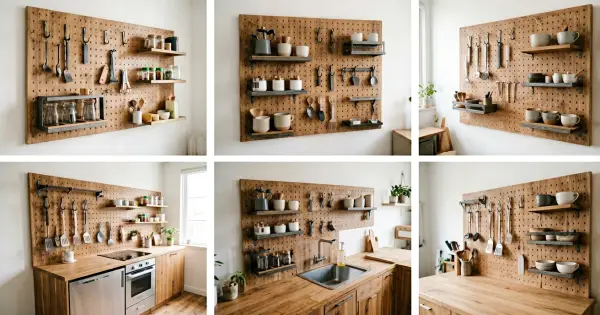
Pegboard Beyond the Kitchen: 6 Room-by-Room Setups
I tested pegboard setups in 6 rooms of my 35sqm apartment, from bathroom to entryway. Here's what works, what doesn't, and the exact hardware you need for each space.